In this case, the world (or at least a tiny subset of it) is actually beating the proverbial path. Everyone loves free beer.
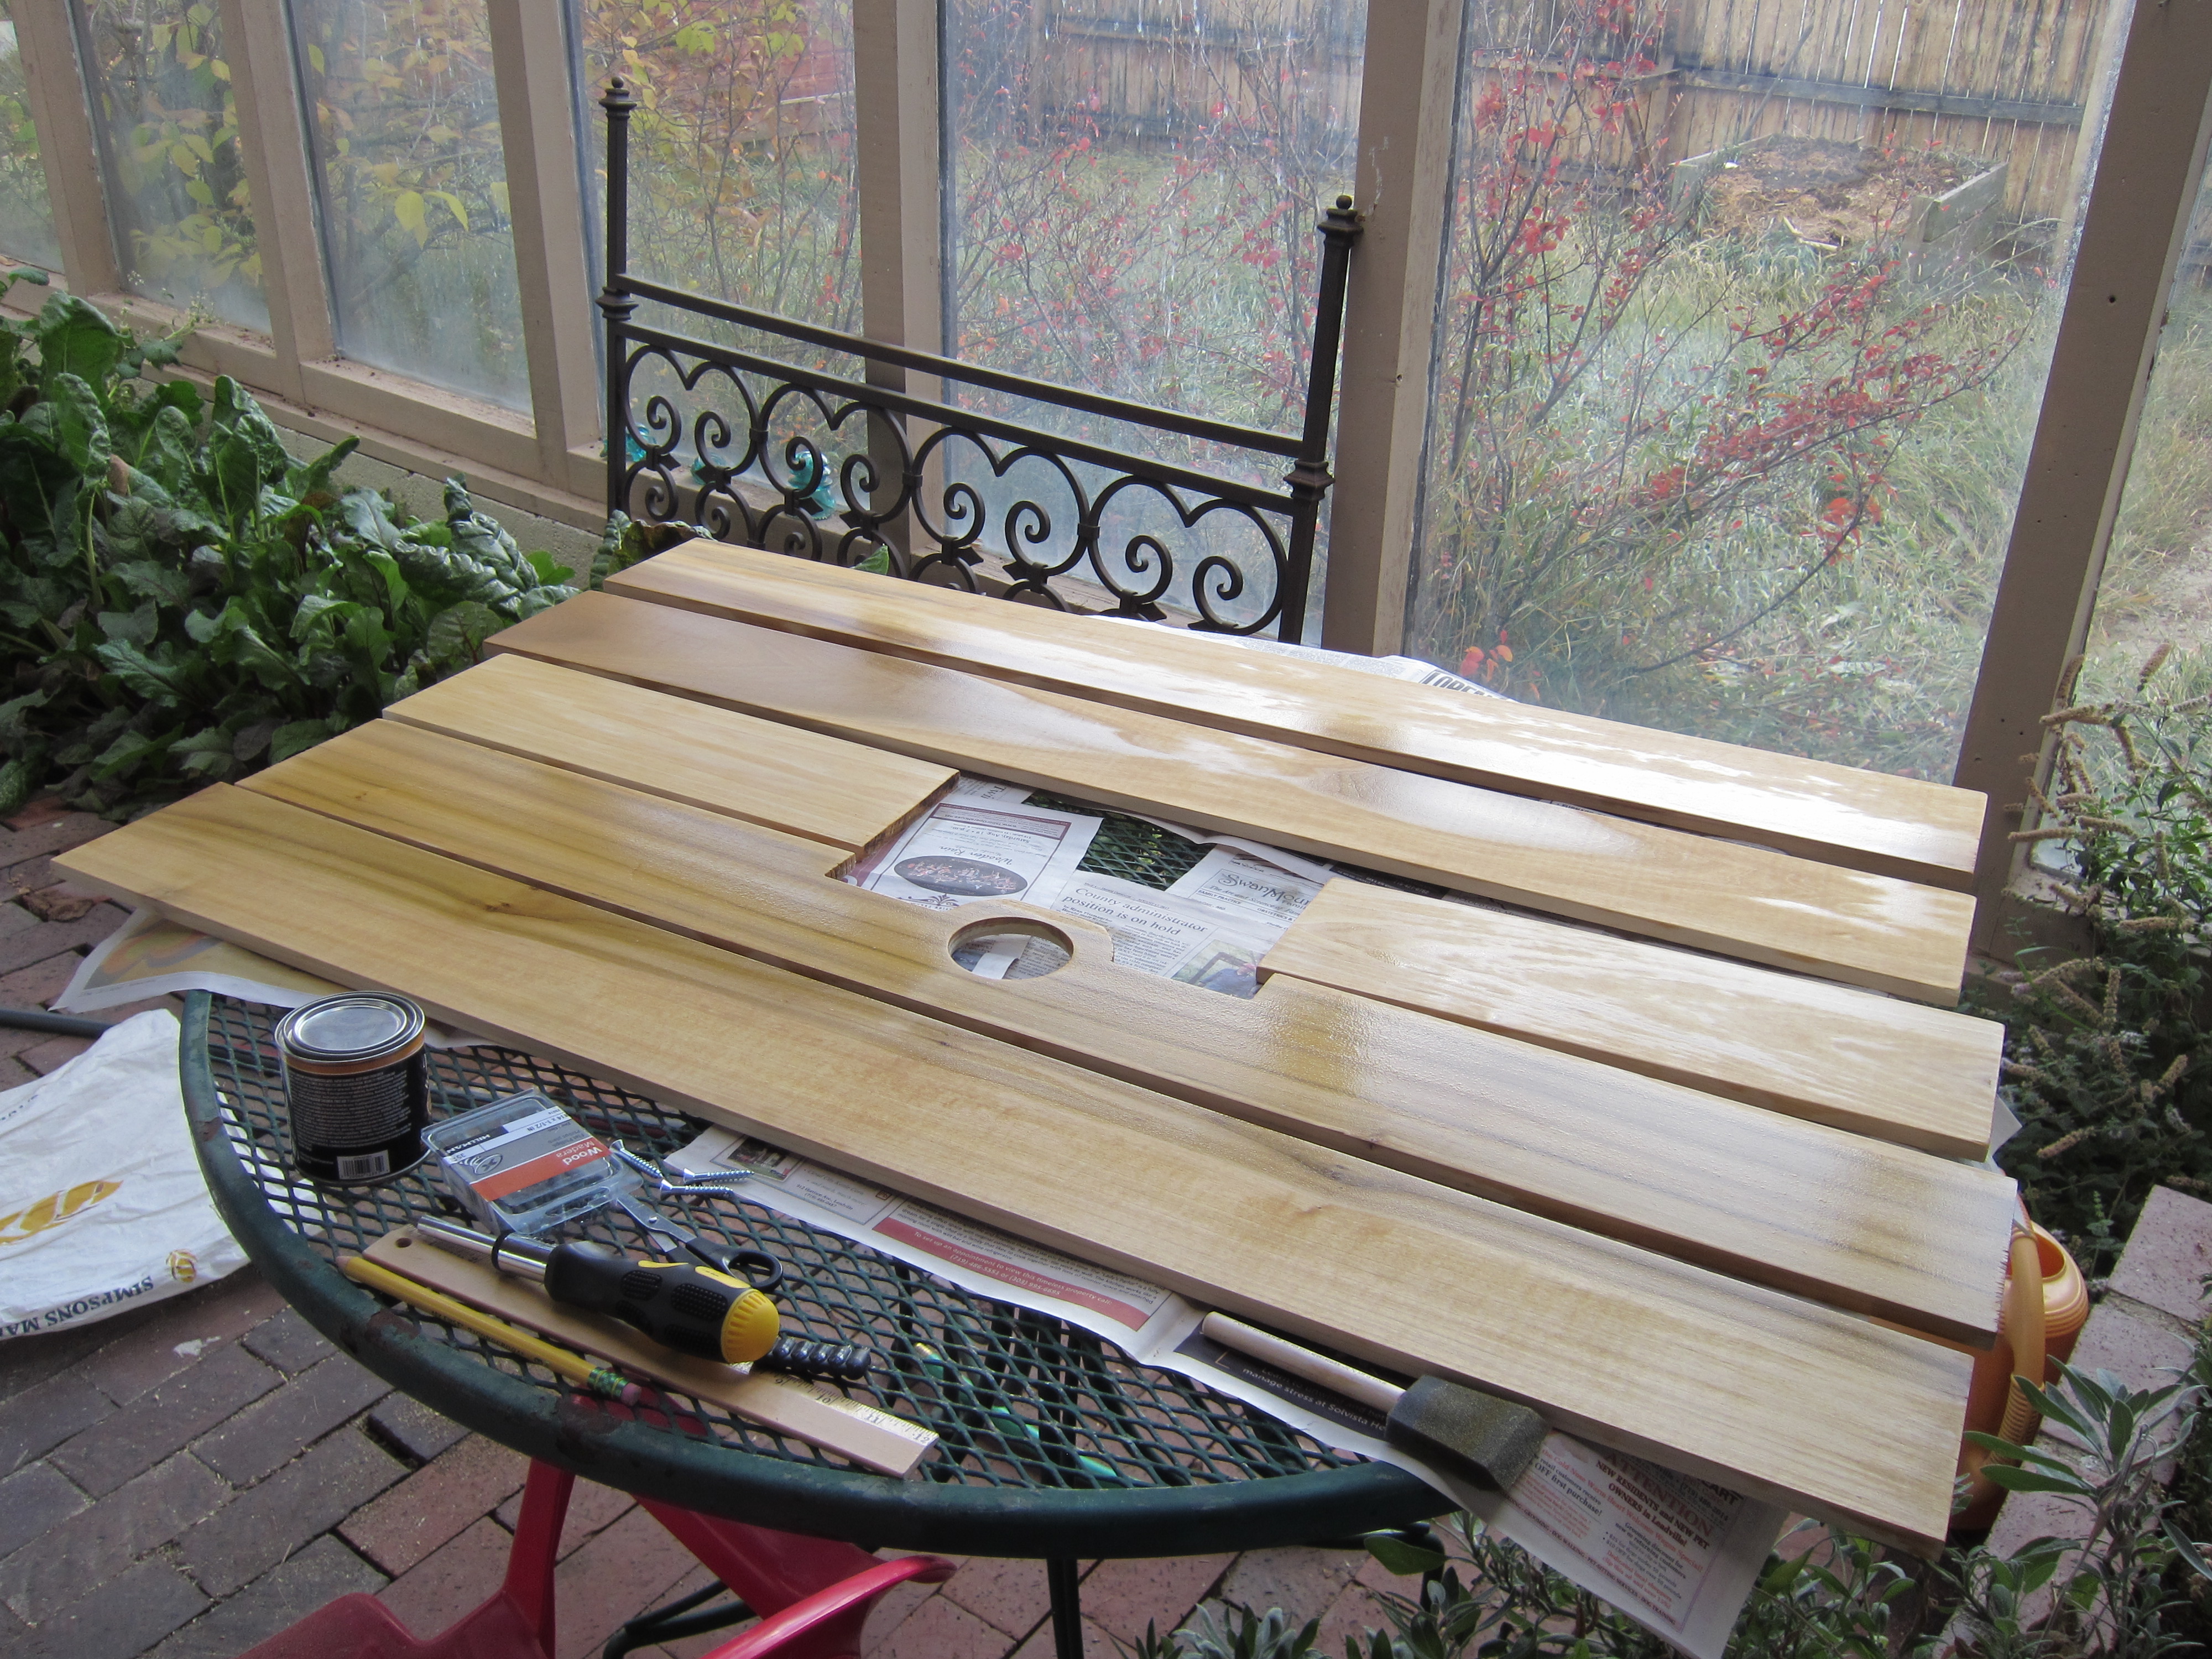
The cut, sanded, and stained finishing boards (1/2″ x 6″ nominal). My plan was to use beetle kill pine for this, but it turns out the economics of that have flipped, at least at retail. Lowe’s had these poplar boards marked down to $0.99/ft. Incidentally, the two difficult "cuts" were done by hand, making dozens of holes with a drill, snapping the waste out, and then covering up my misdeeds with 50-grit sandpaper and copious elbow grease.
Test-fitting before gluing everything down. The freezer itself is a Whirlpool 15 cu ft, same as the 2006 model it replaced. It actually has a bit more useful volume than its predecessor thanks to a smaller compressor, but at the expense of being much louder.
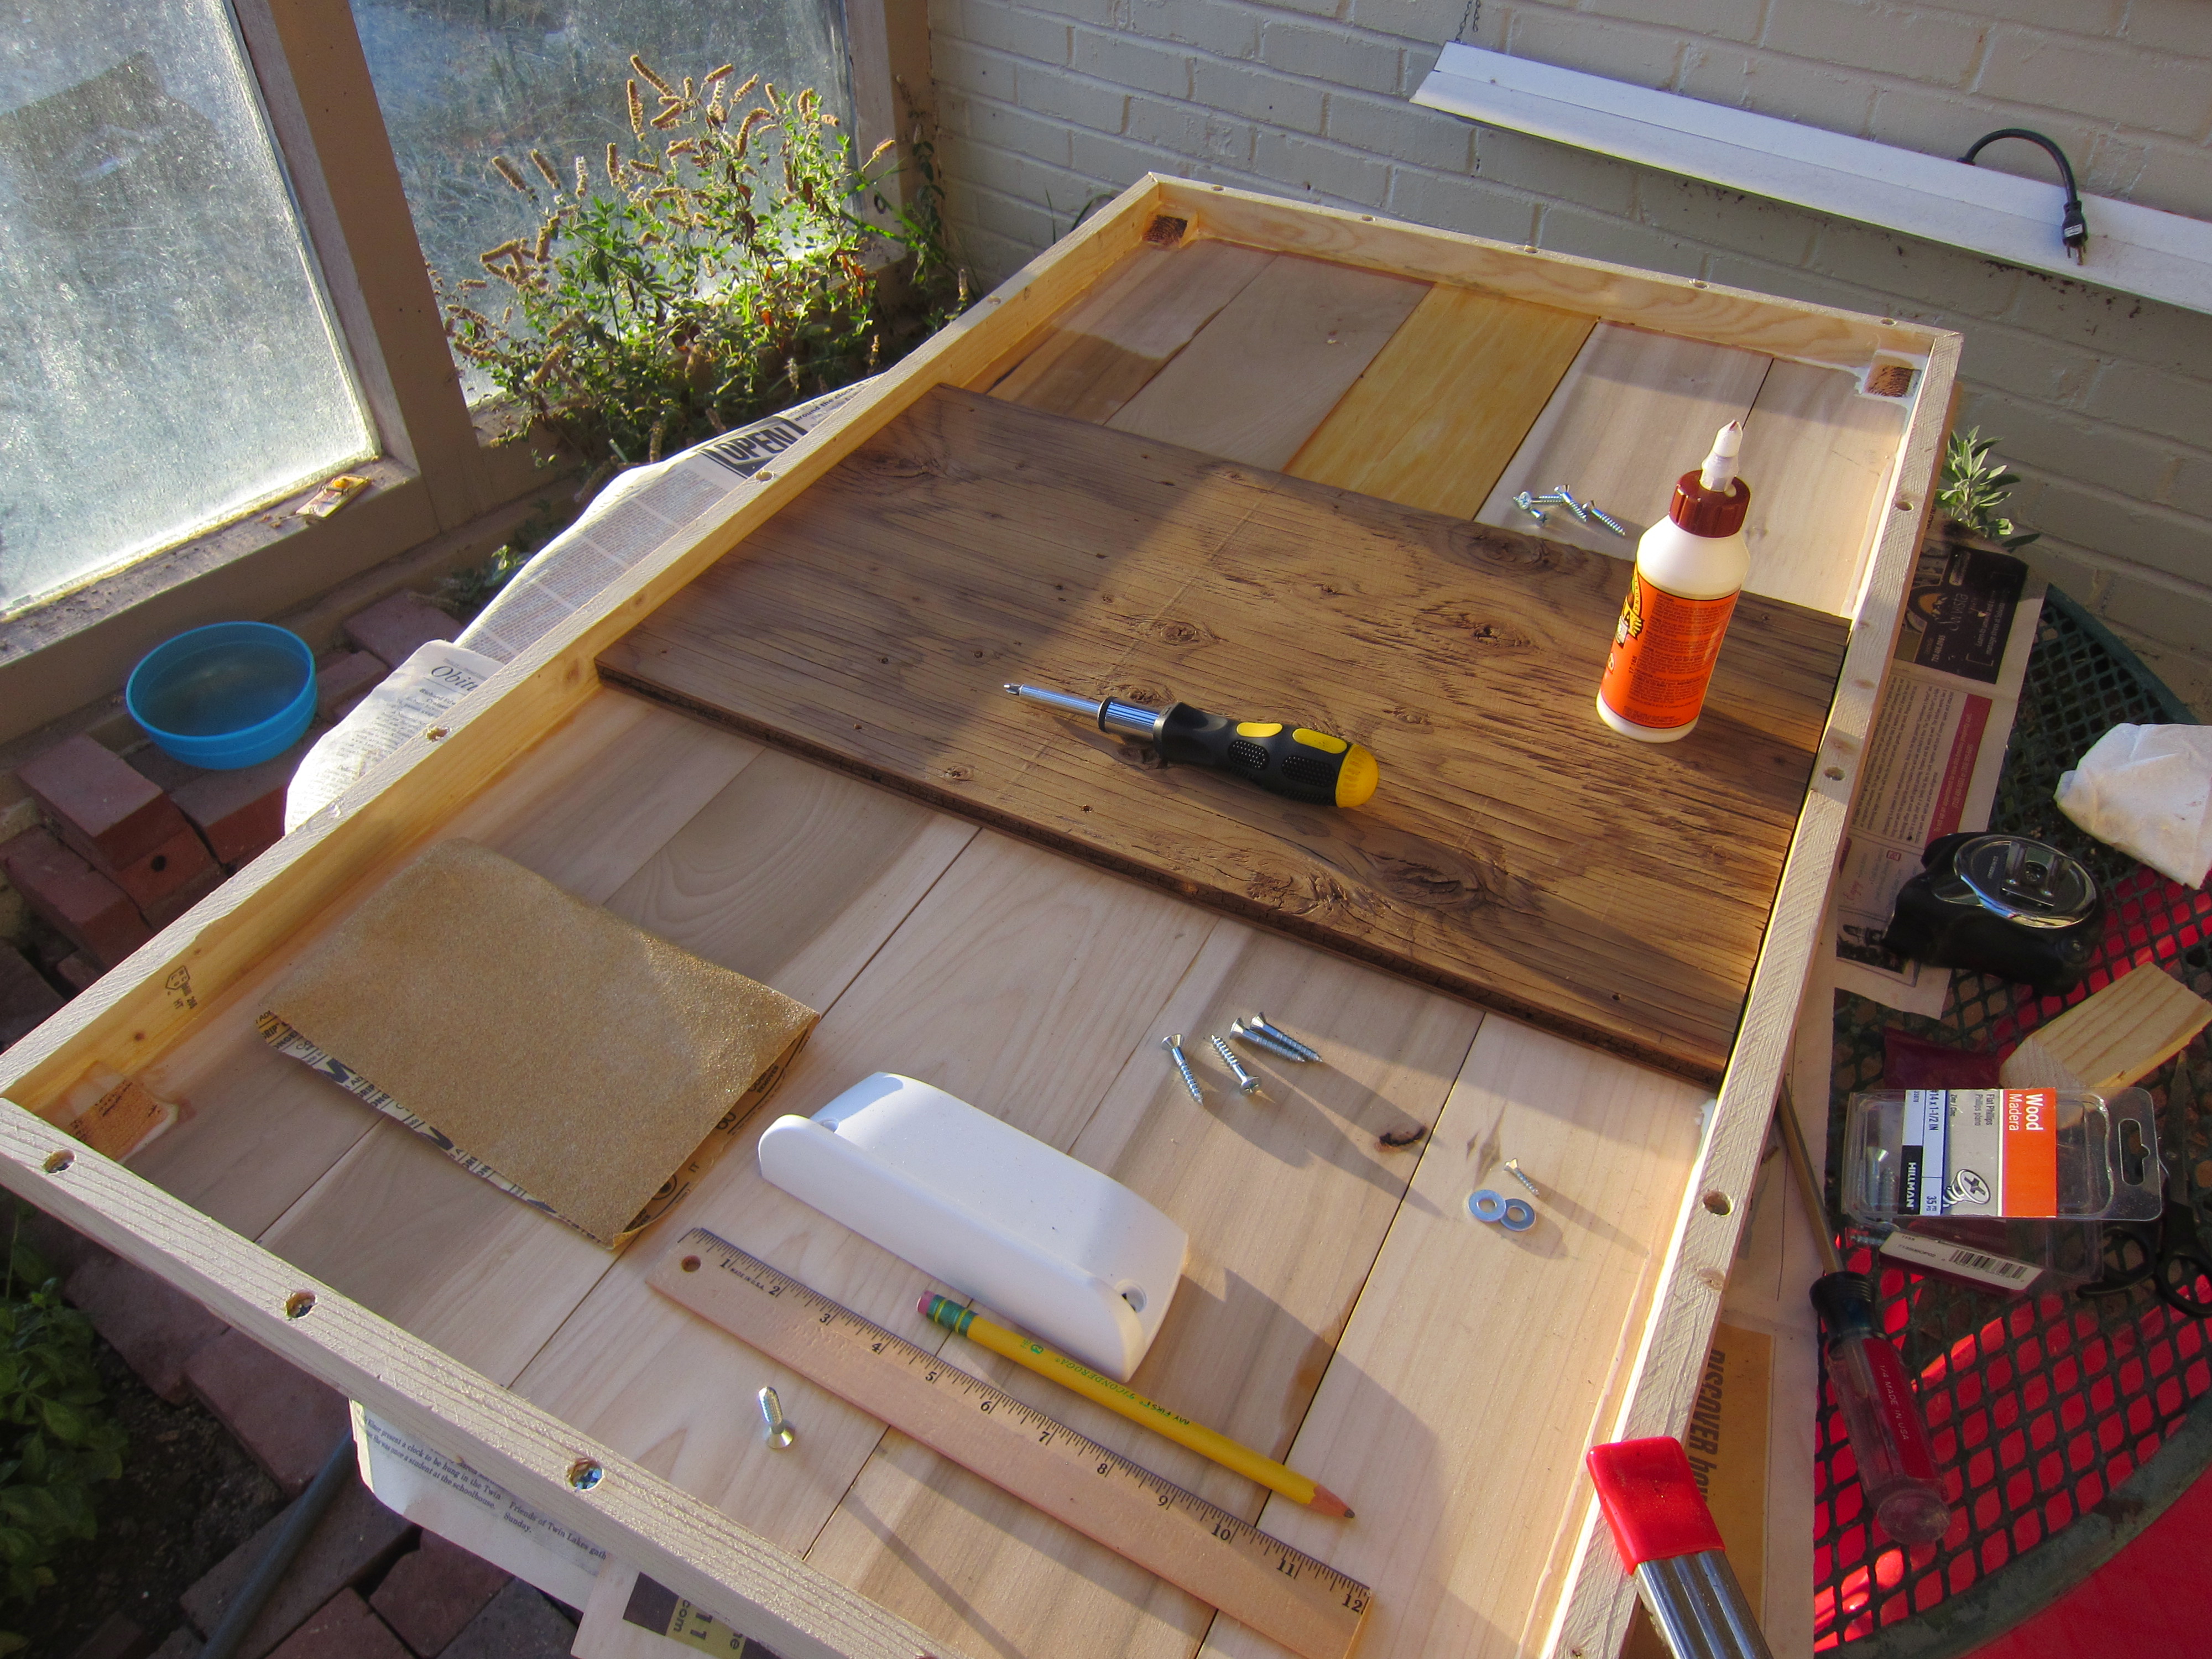
I never thought to take a clean shot of the structure before covering it up. The actual frame is good ol’ 1×2 whitewood, with the finishing boards screwed into it from the bottom for a clean surface. In the center is a sheet of 5/8″ plywood, screwed into both the bar top and the whitewood frame. The result is a little heavier than the original lid, but rock-solid. You may be able to see the liberal use of wood glue to secure everything, and hopefully make it nearly airtight.
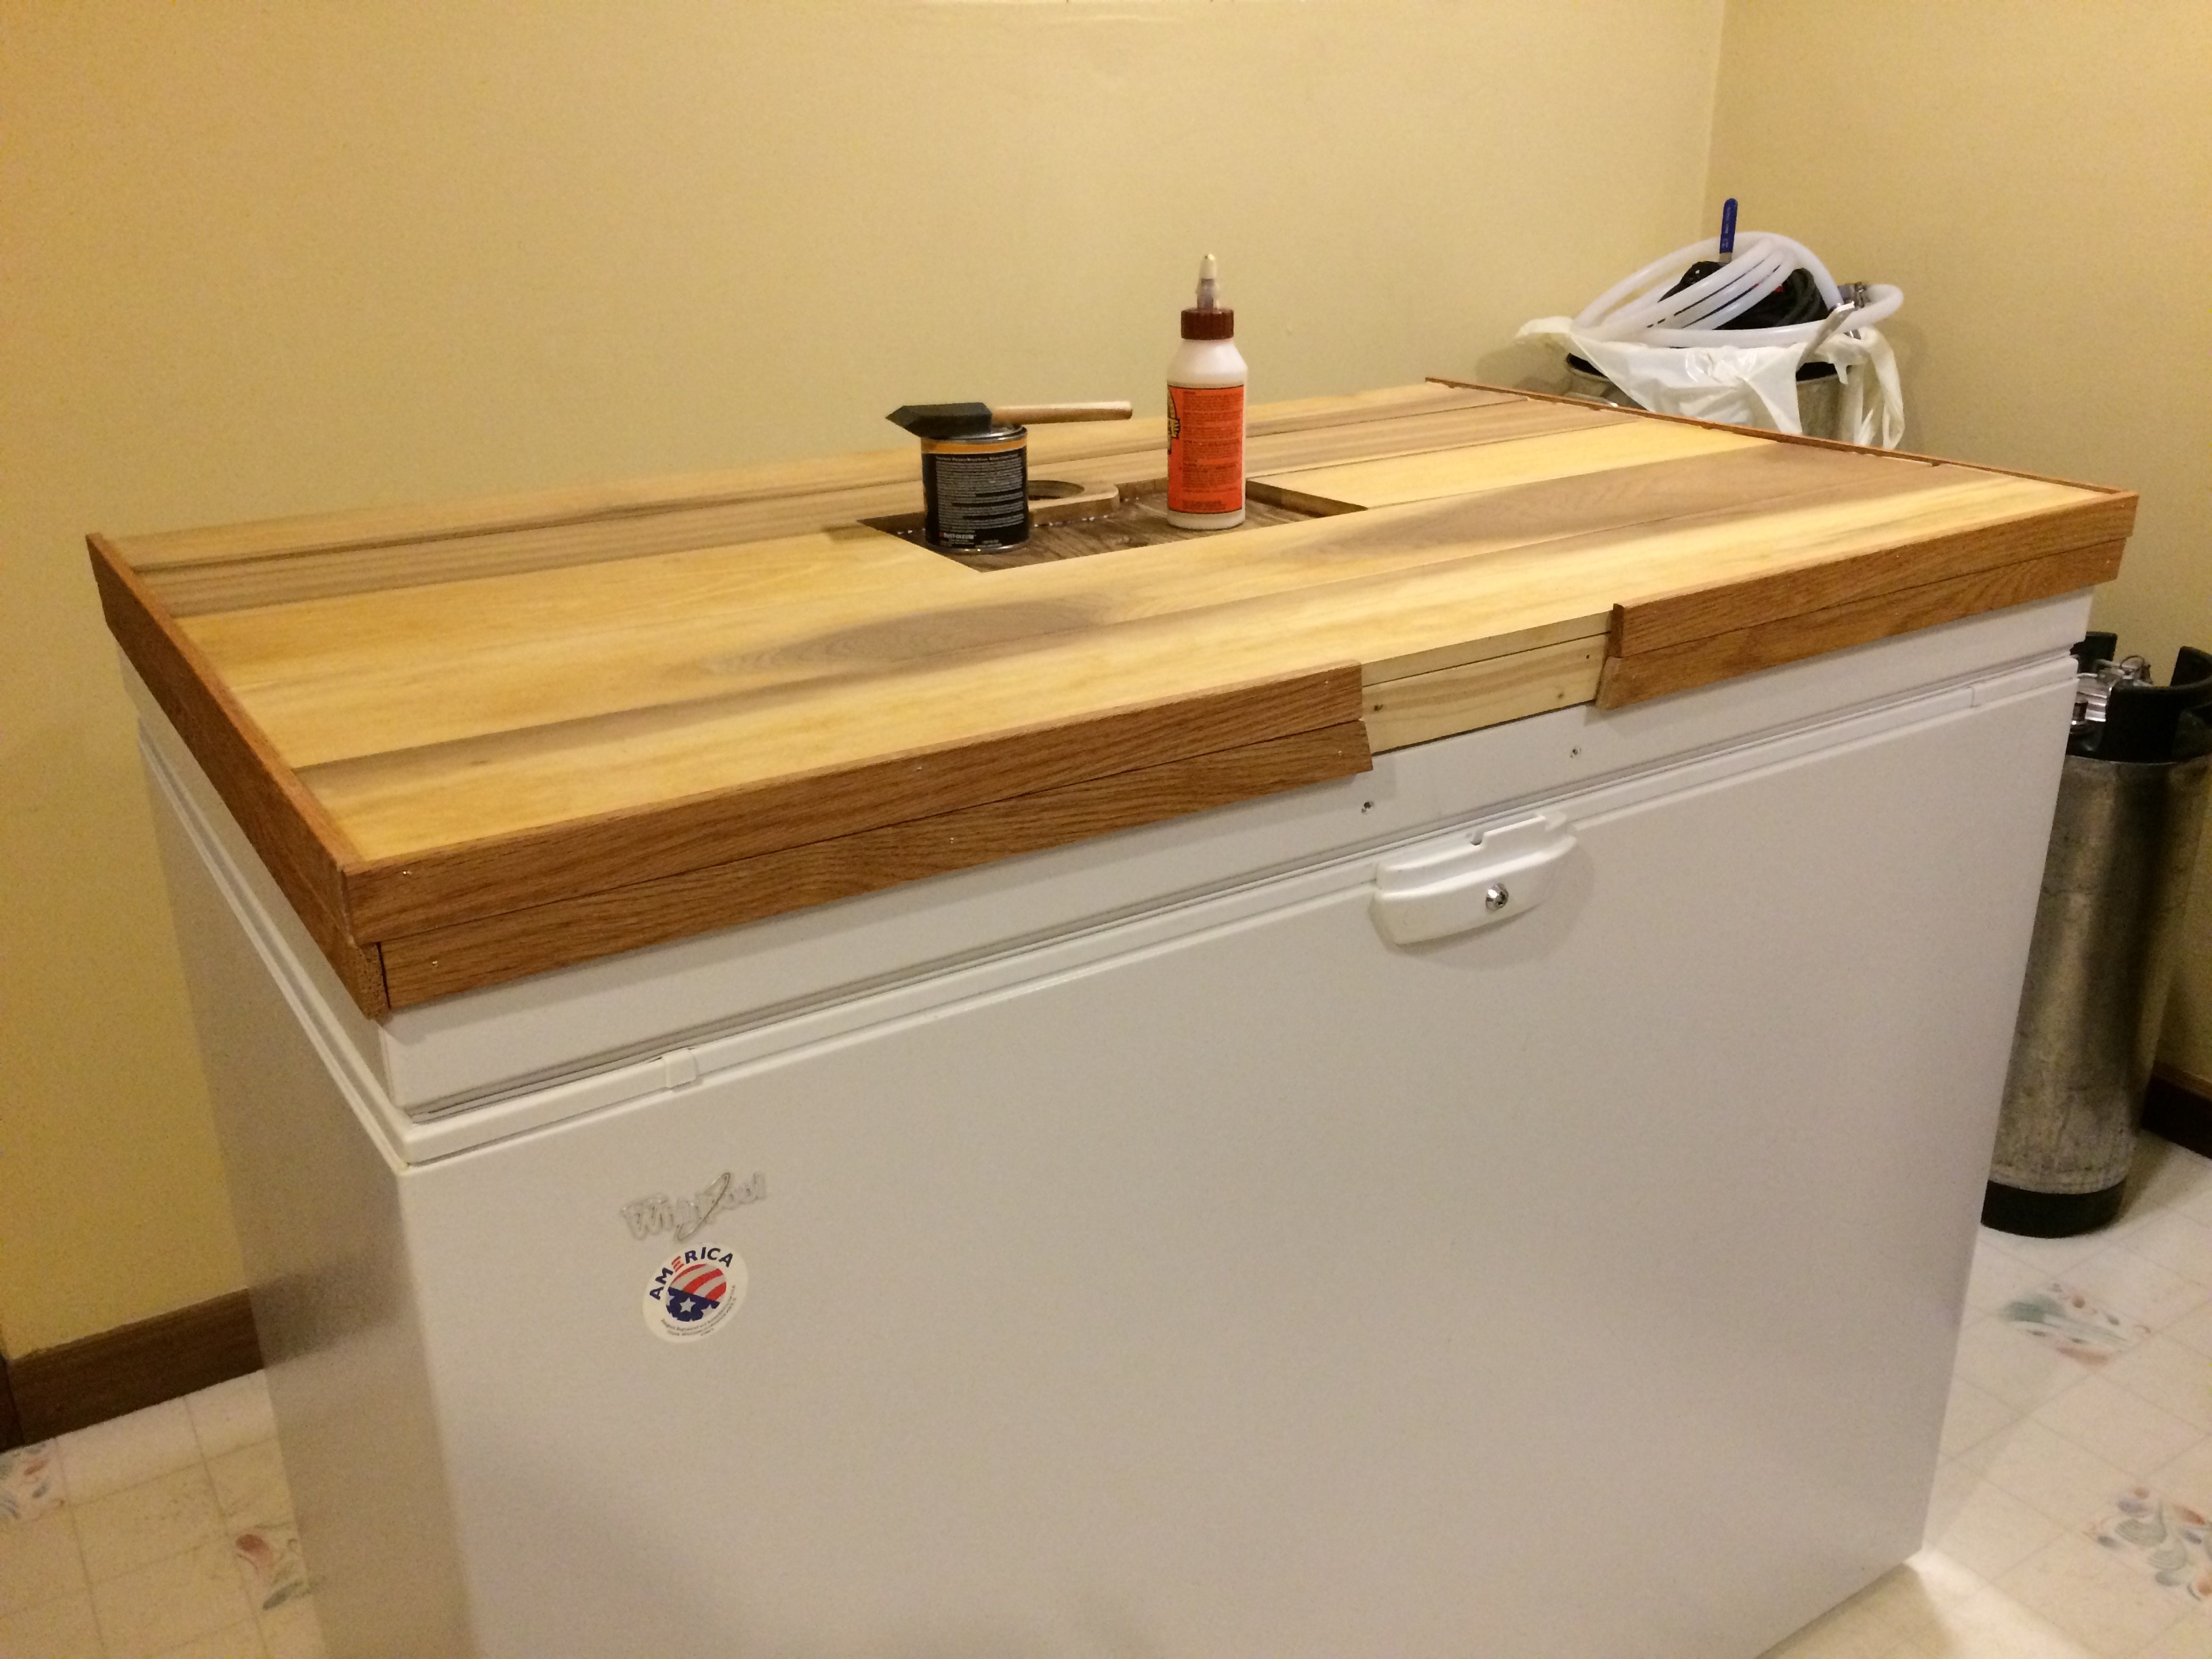
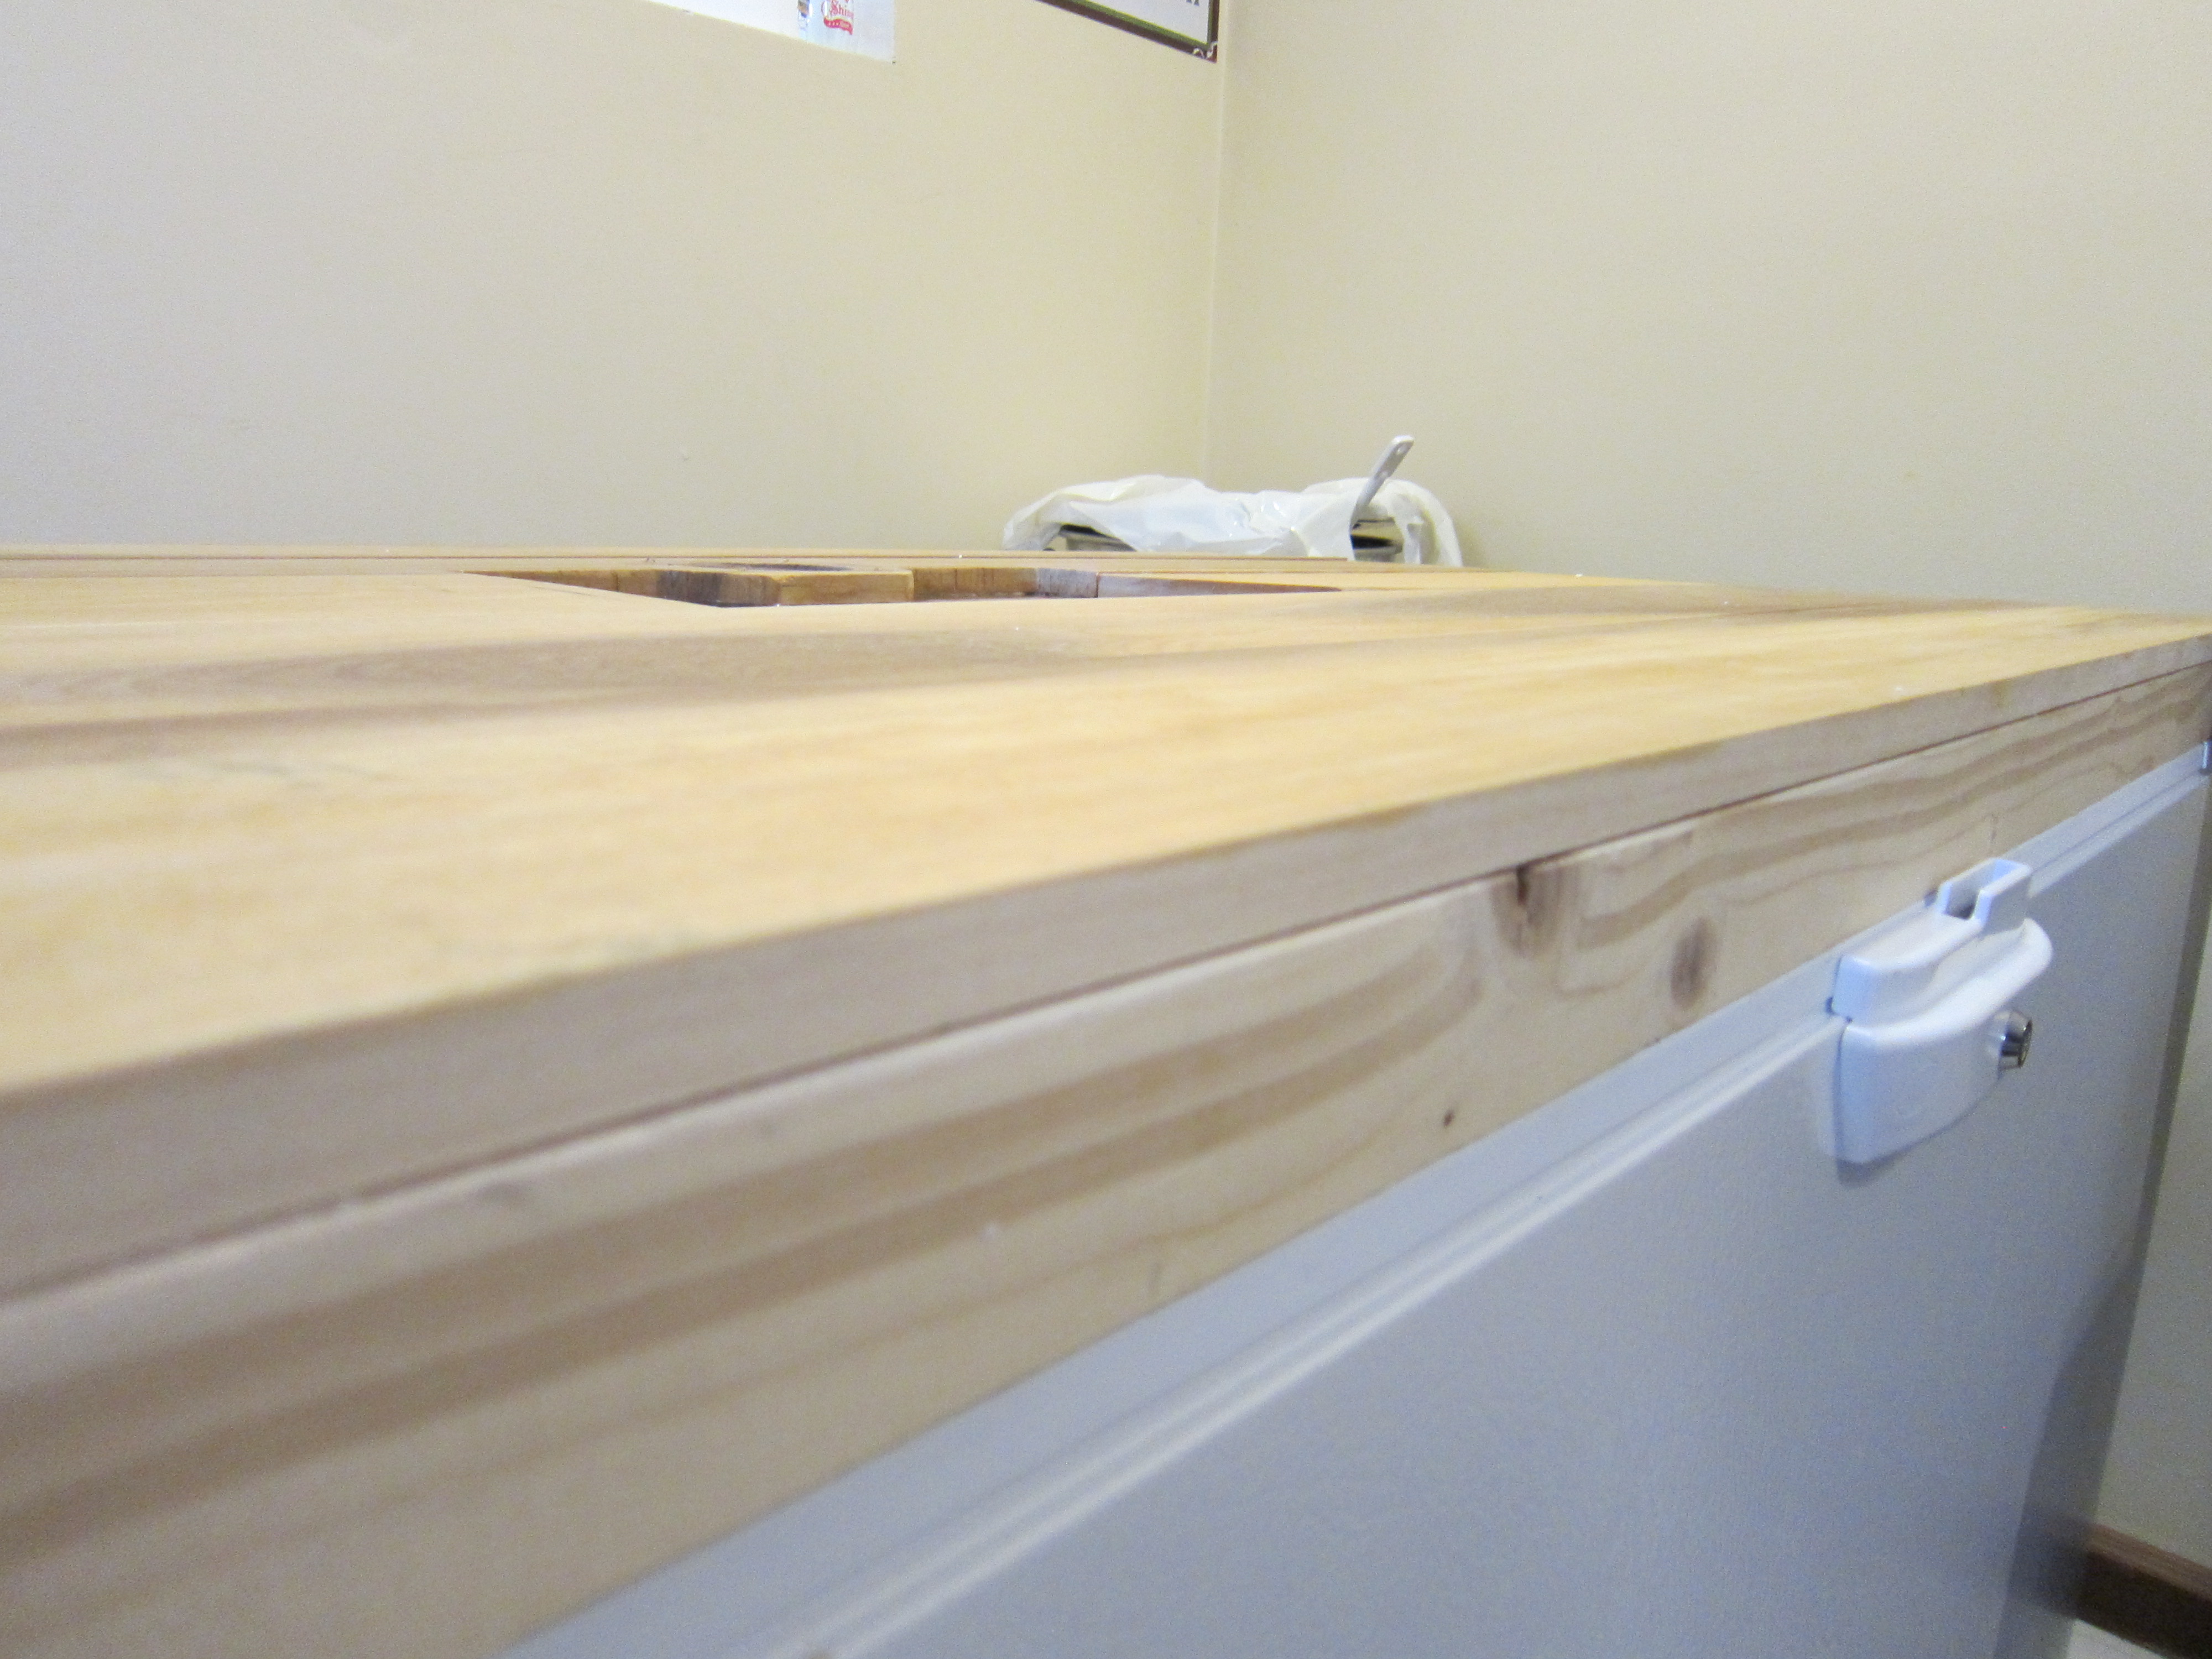
Red oak trim attached, and just waiting for the second coat of stain to dry. I used the lightest “natural” stain I could find; hopefully the natural colors of the woods dominate. So far so good anyway.
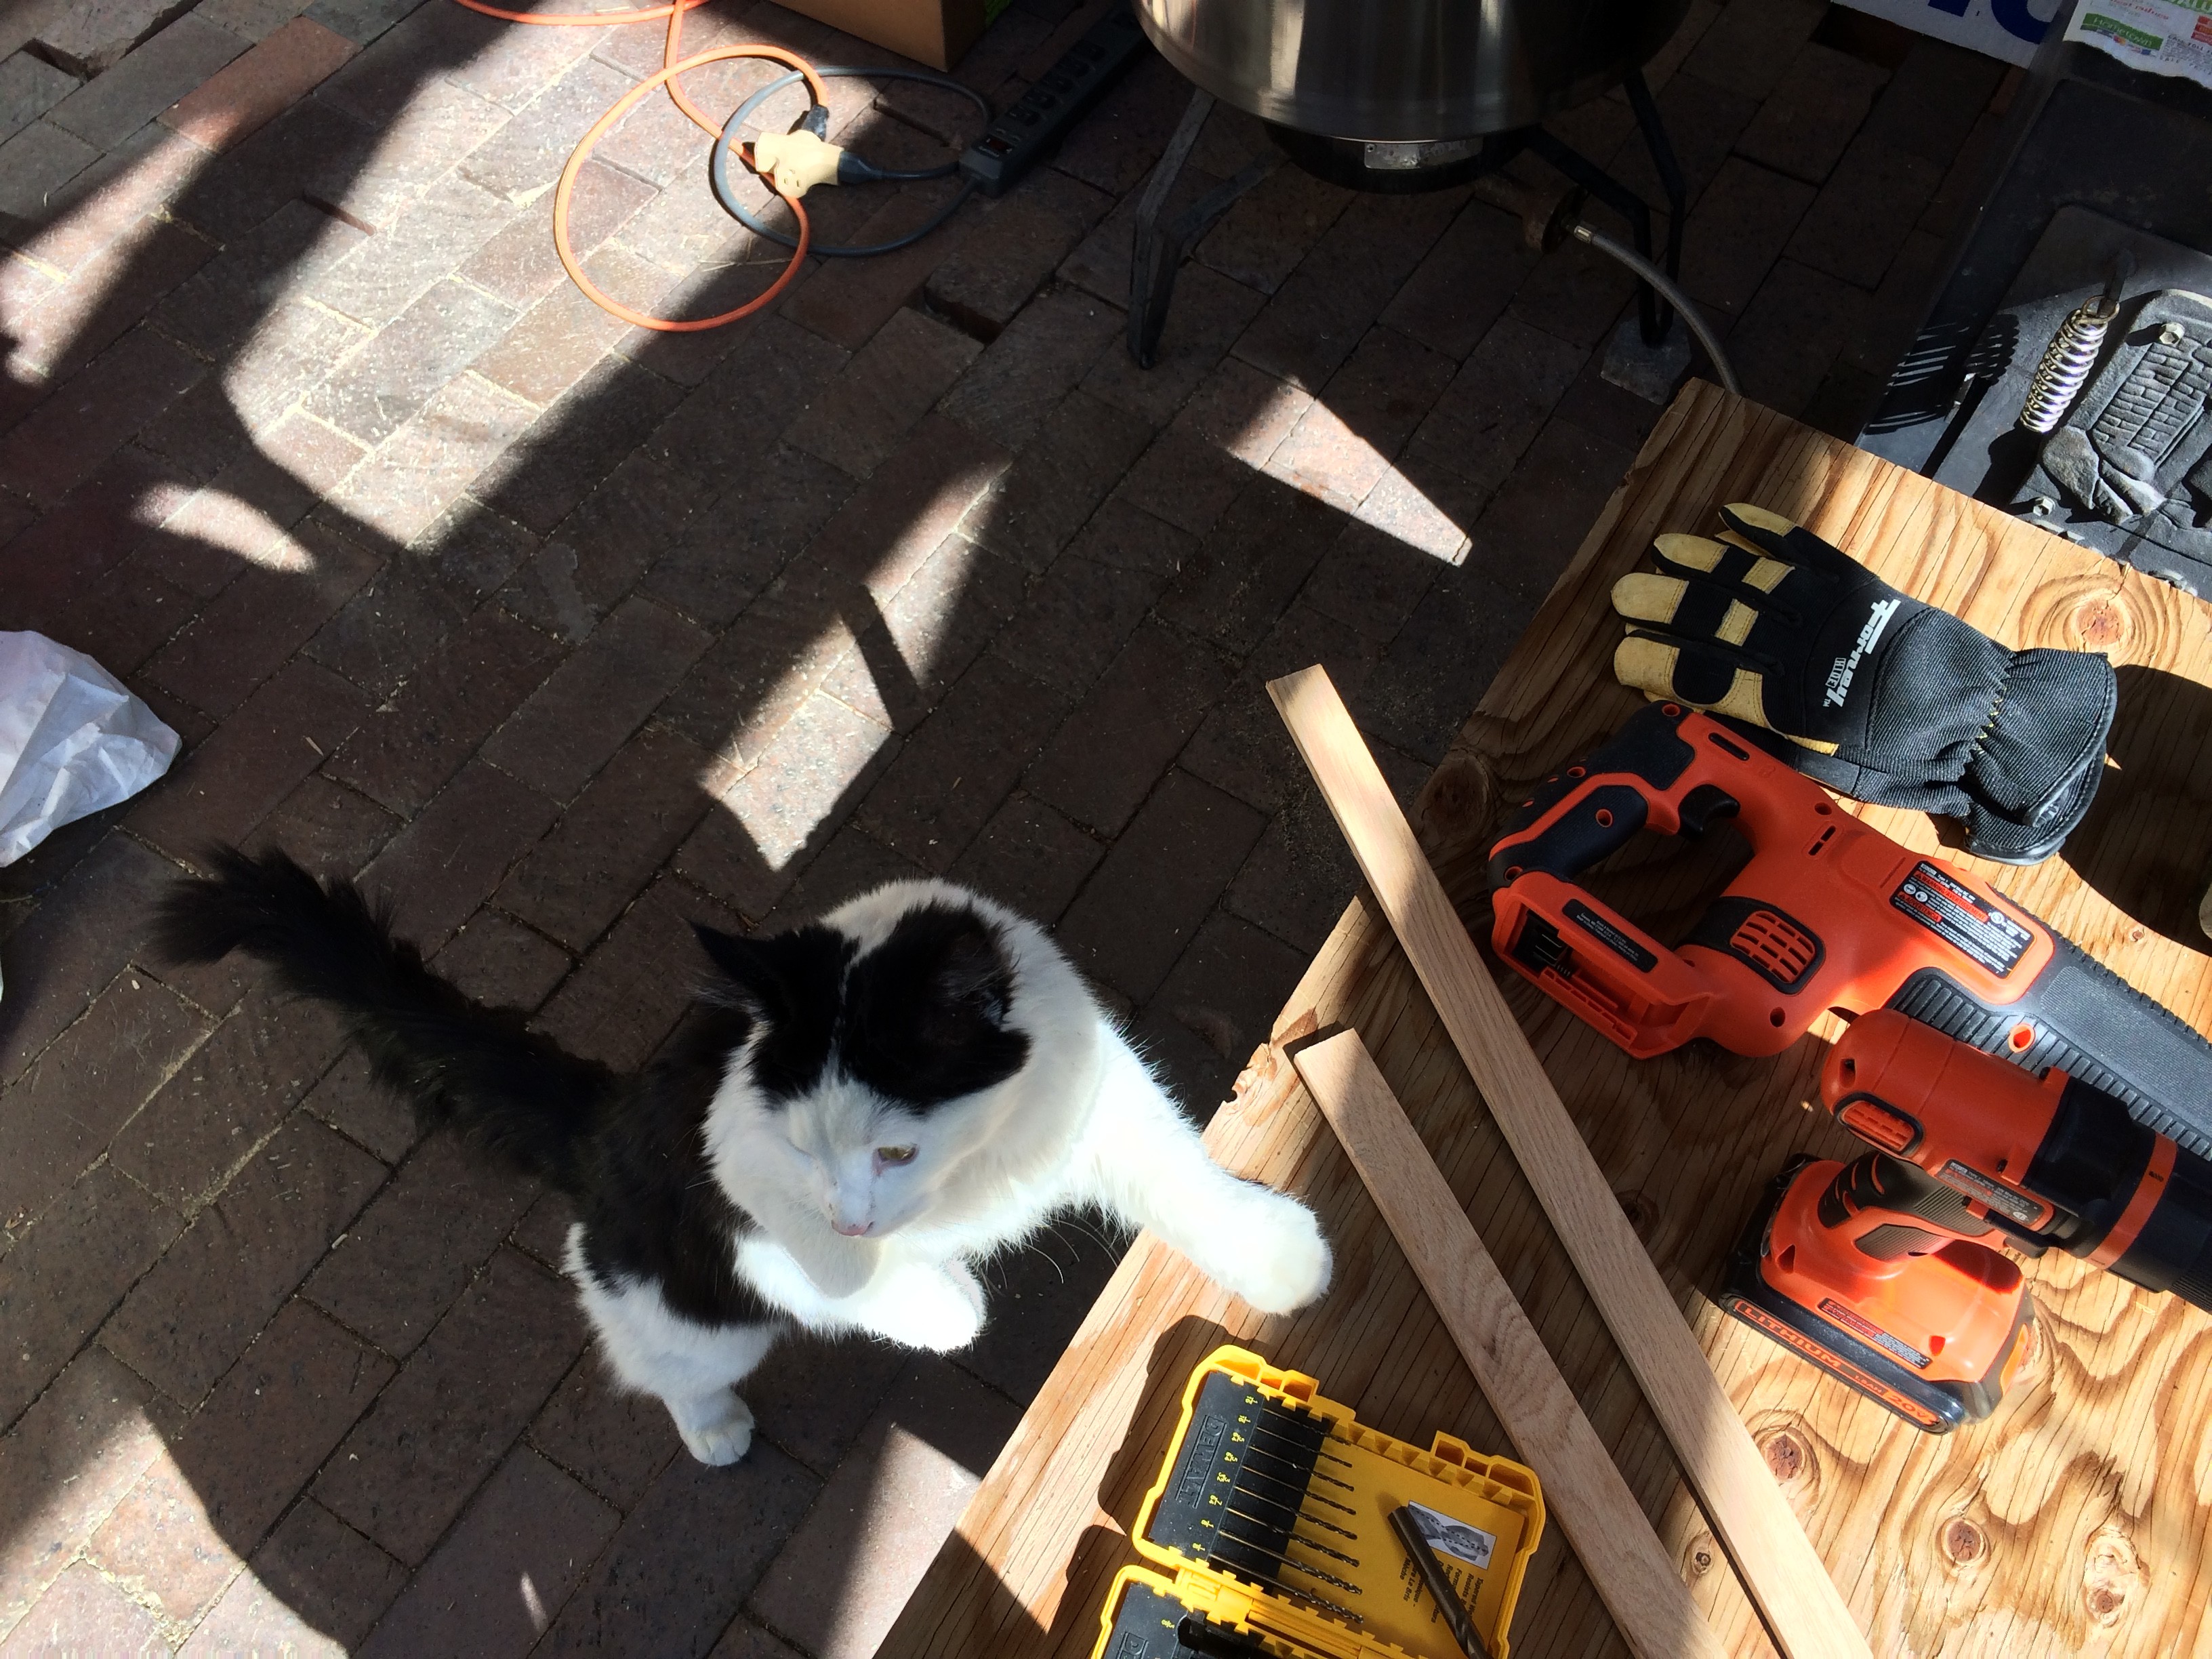
About this time my shop assistant decided to make his presence known…

…By jumping onto the 3/4″ foam bottom layer, ruining my perfect air gap. You may be able to see the foam shims and (again) copious amounts of wood glue ensuring an airtight seal.
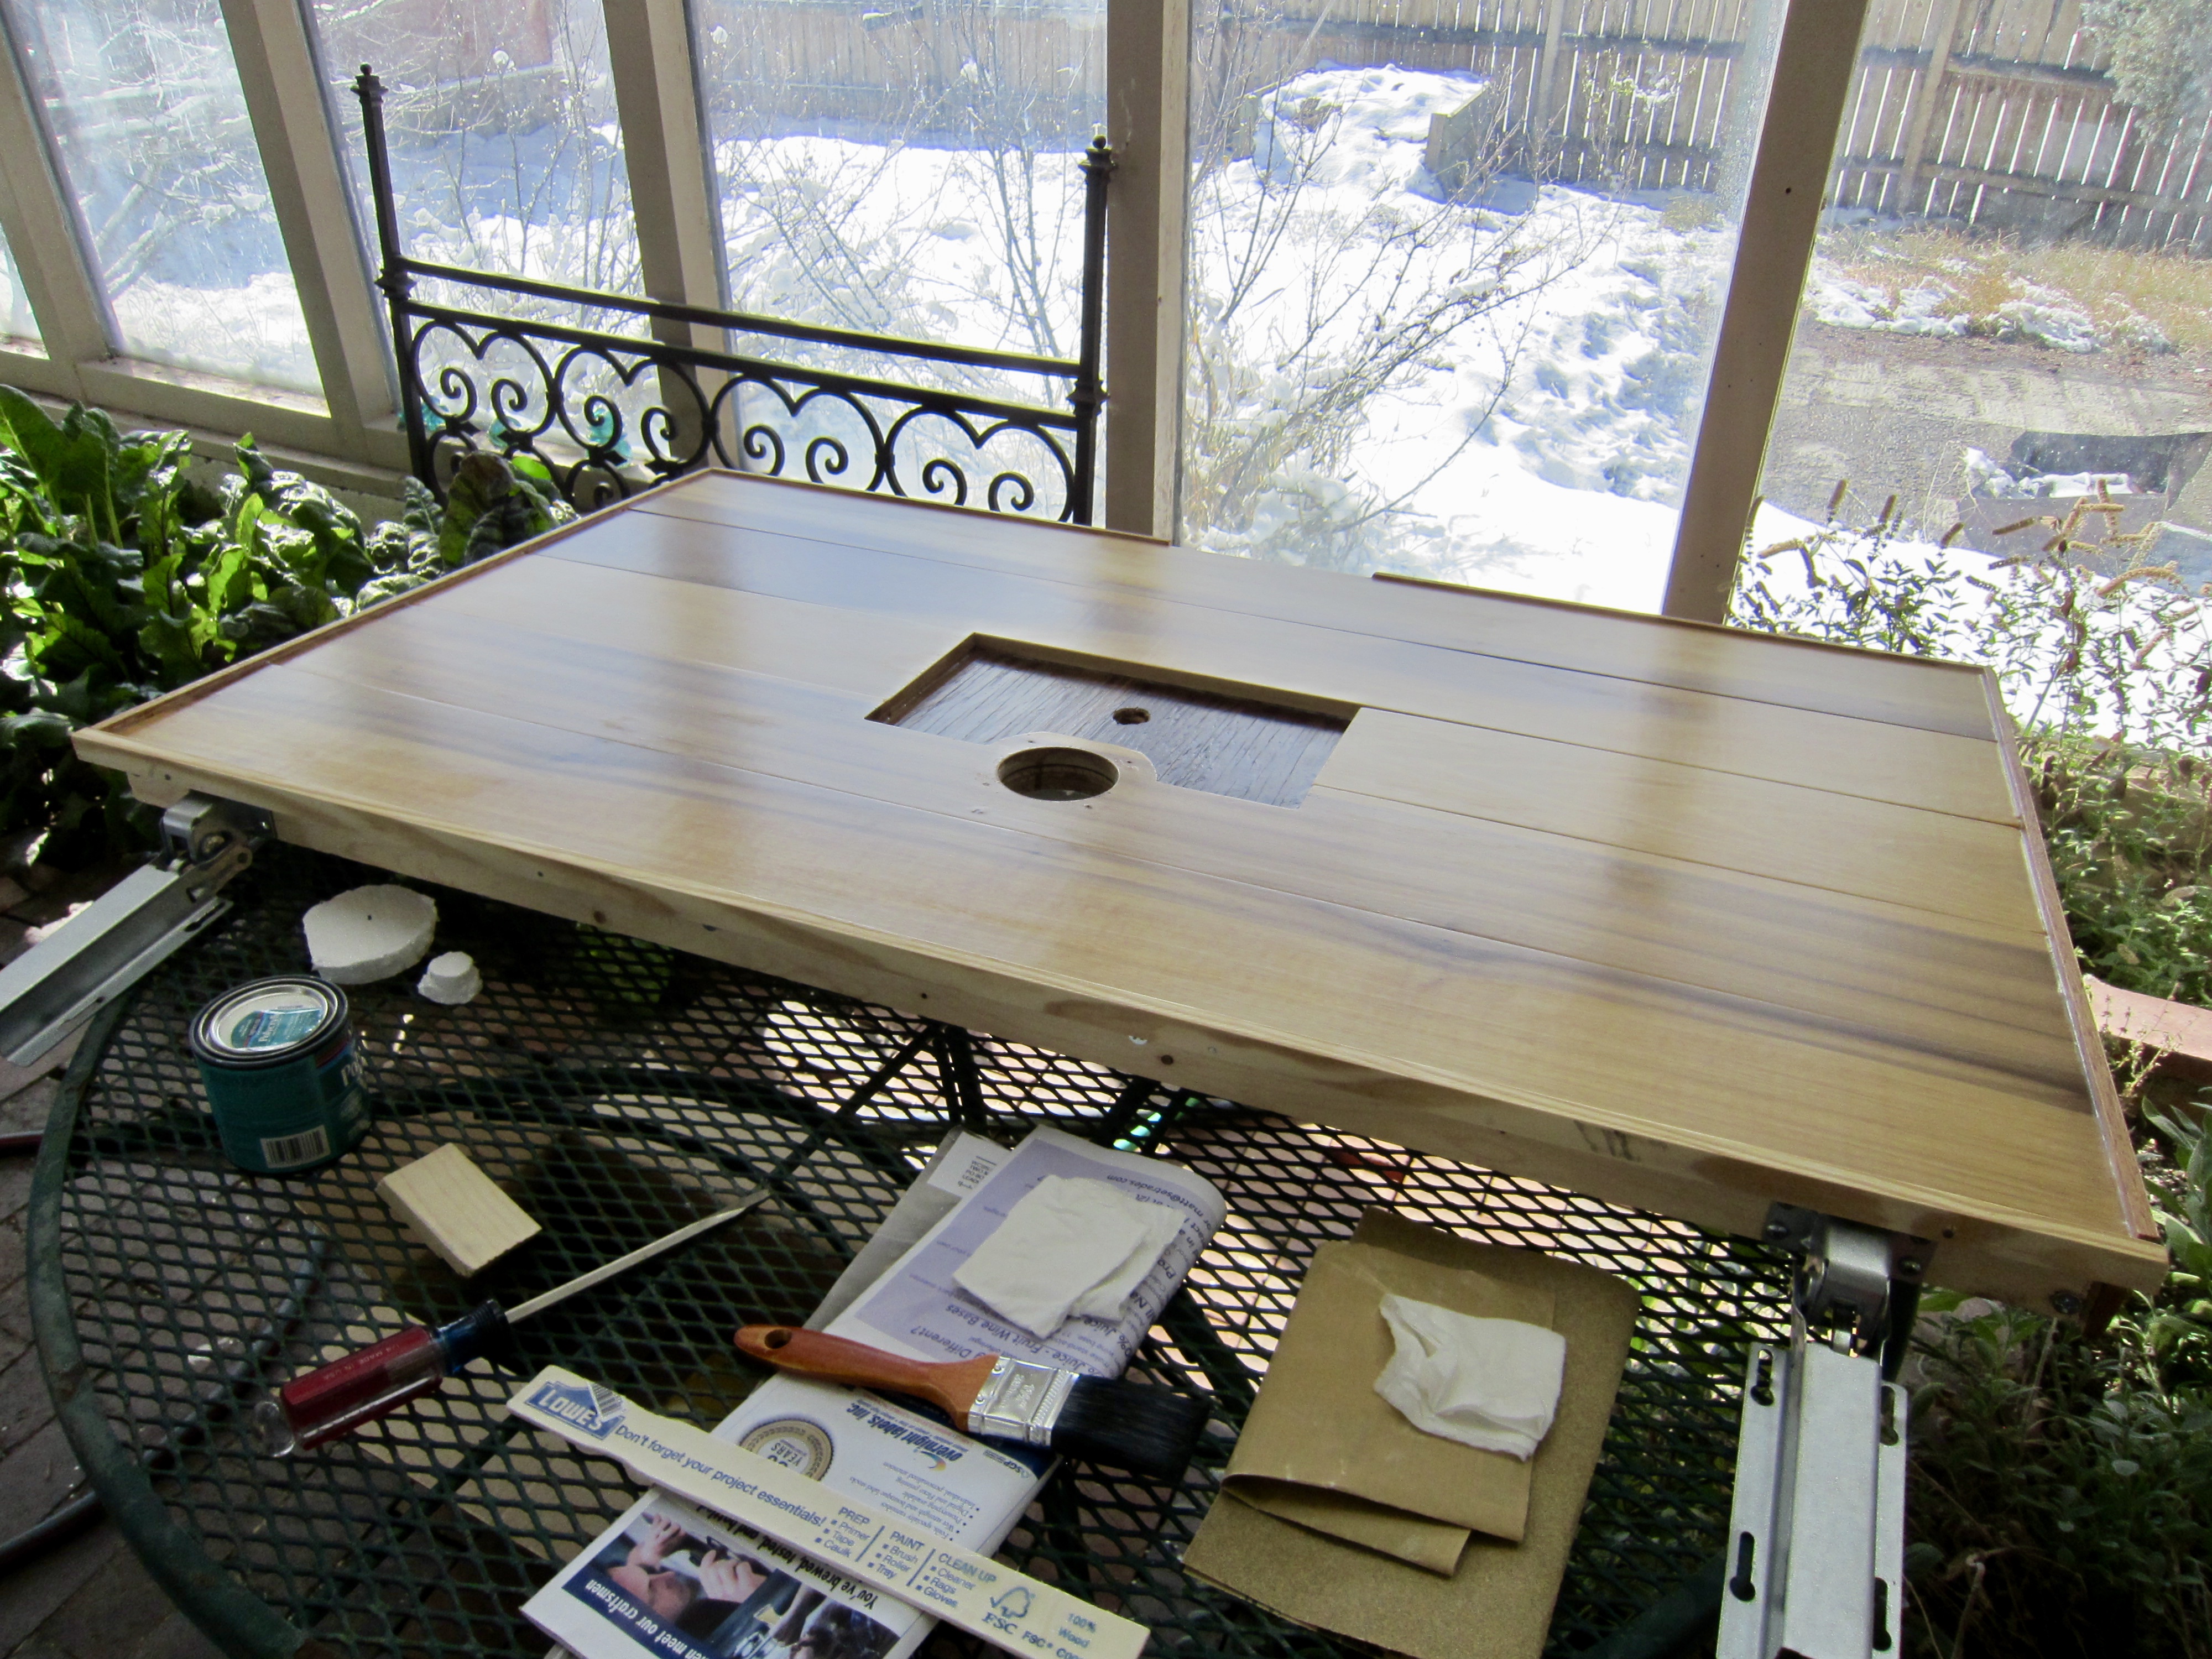
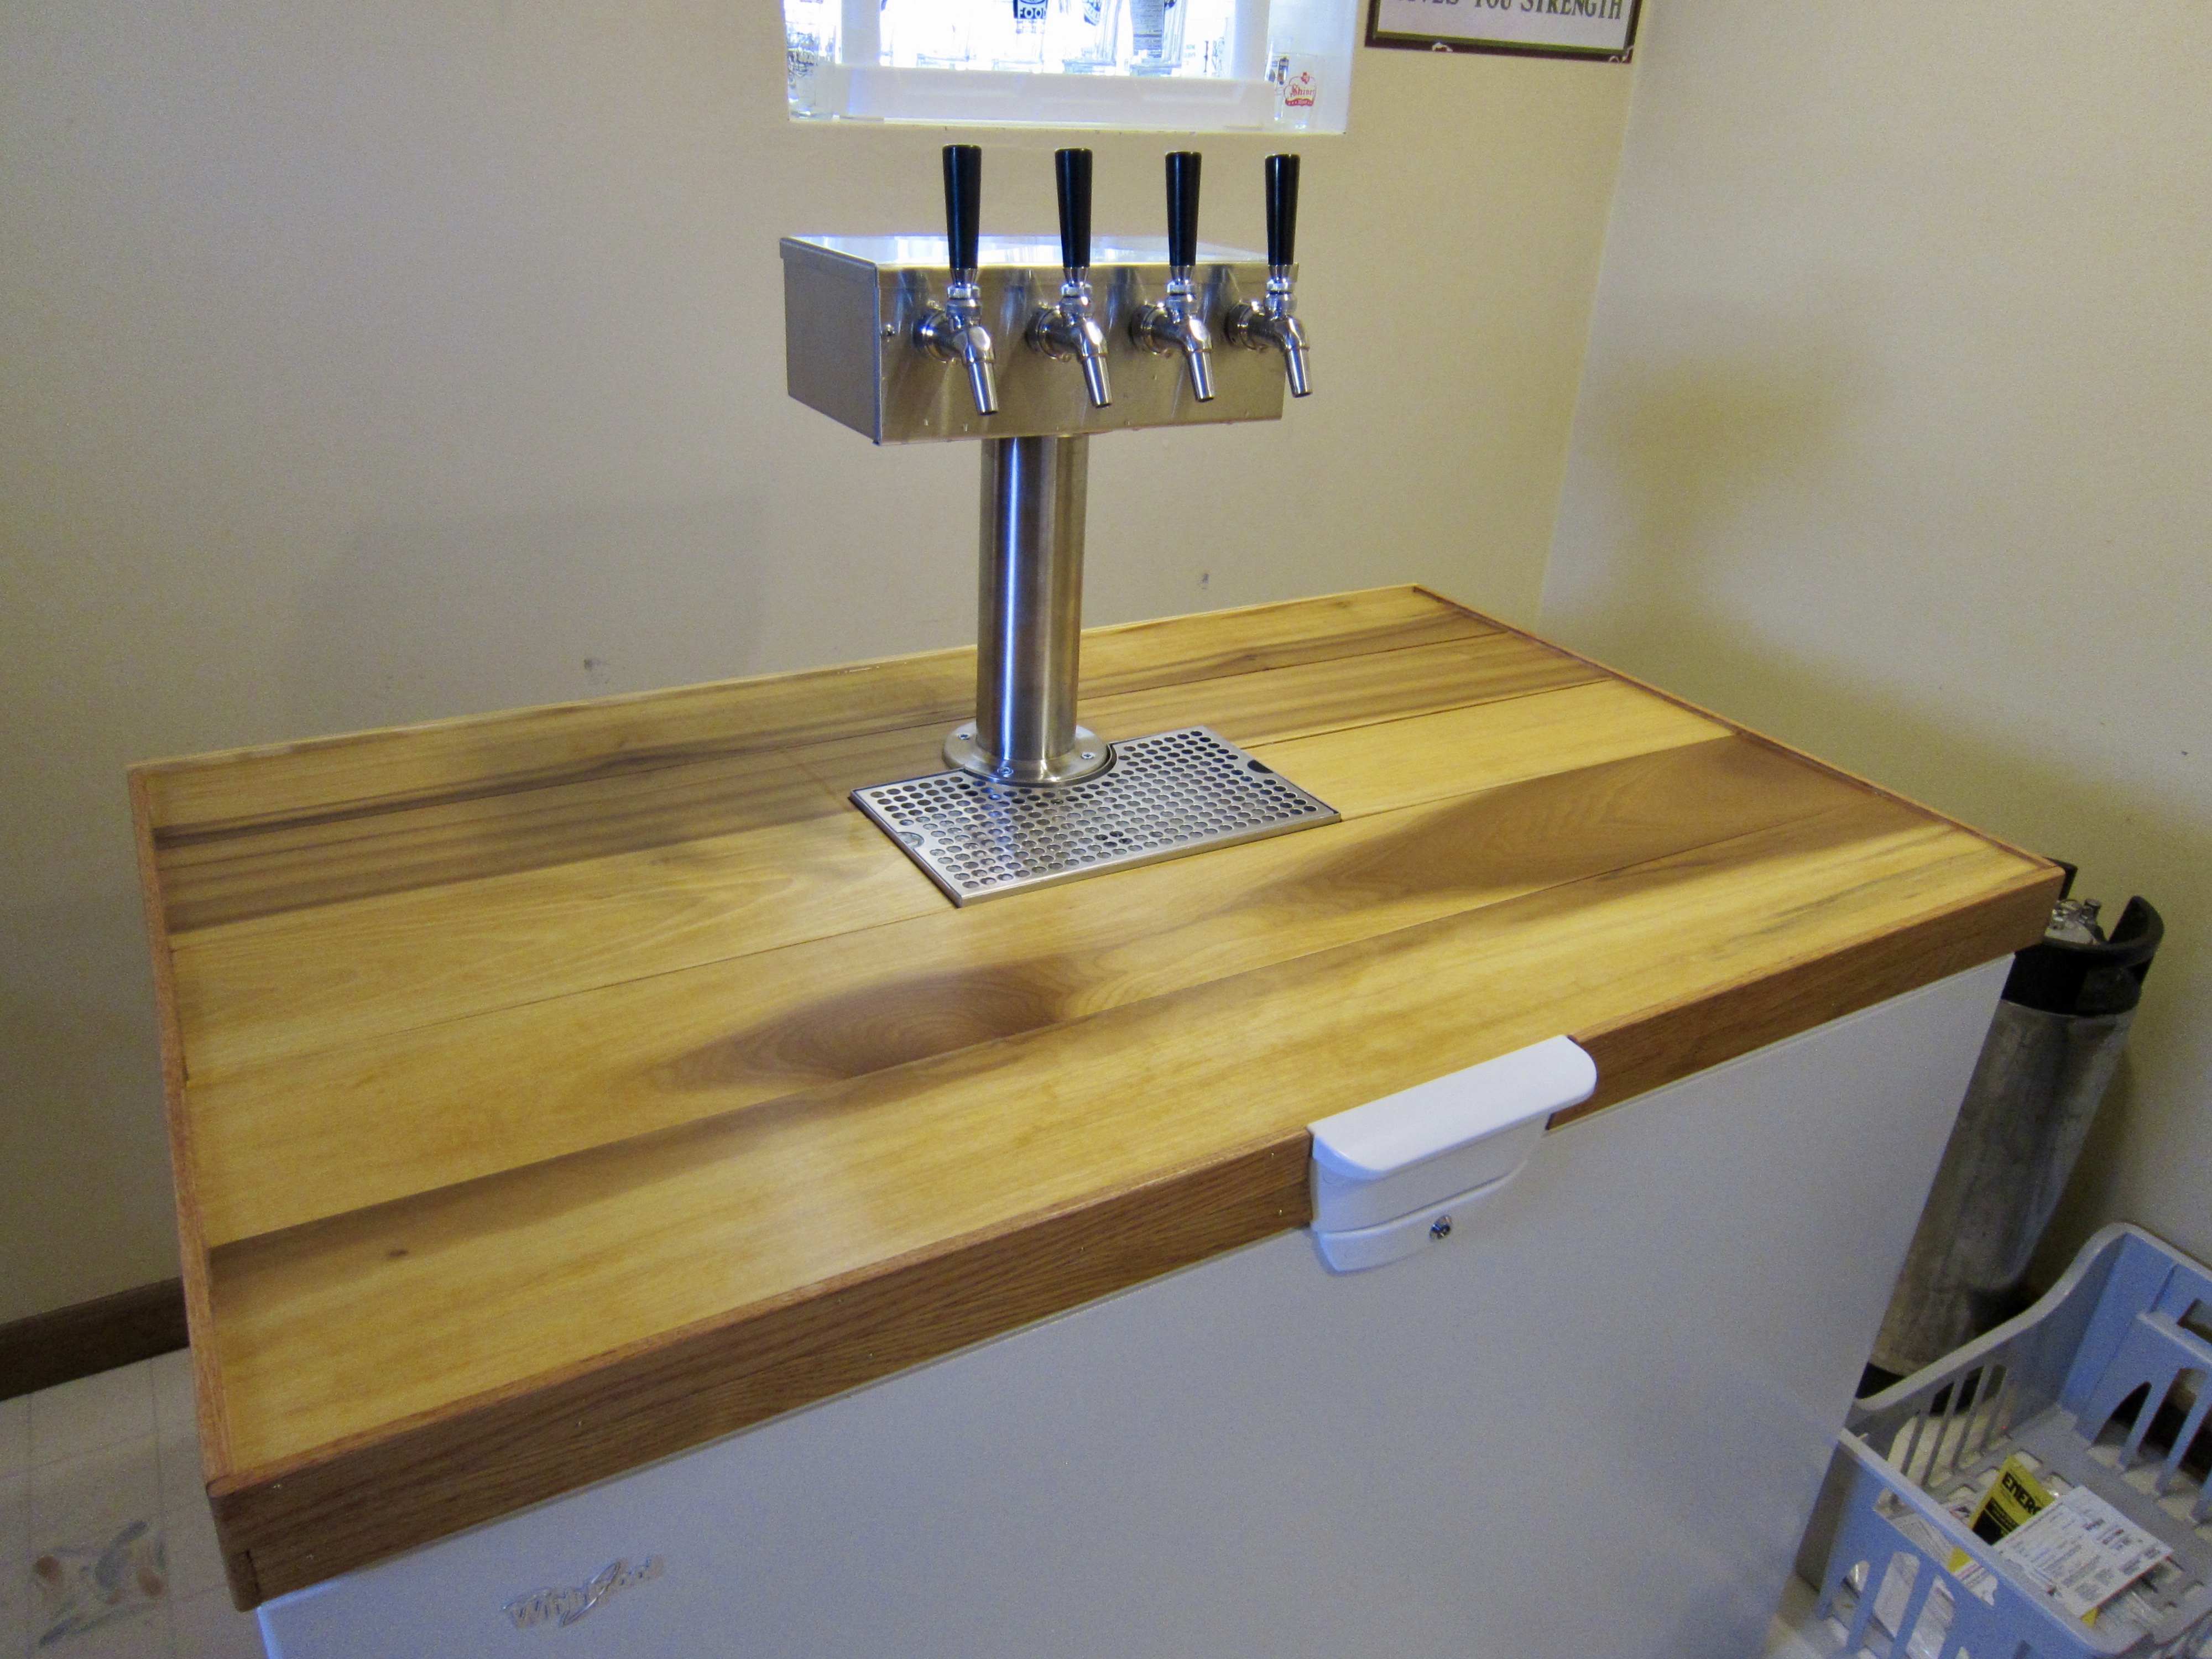
The final product, with clear topcoat drying. I used Minwax Polycrylic, and the 8 fl oz can was enough for three coats on the top and one on the trim. I’m going to have to pick up another can and put down one more, thicker coat to seal up all the little gaps.
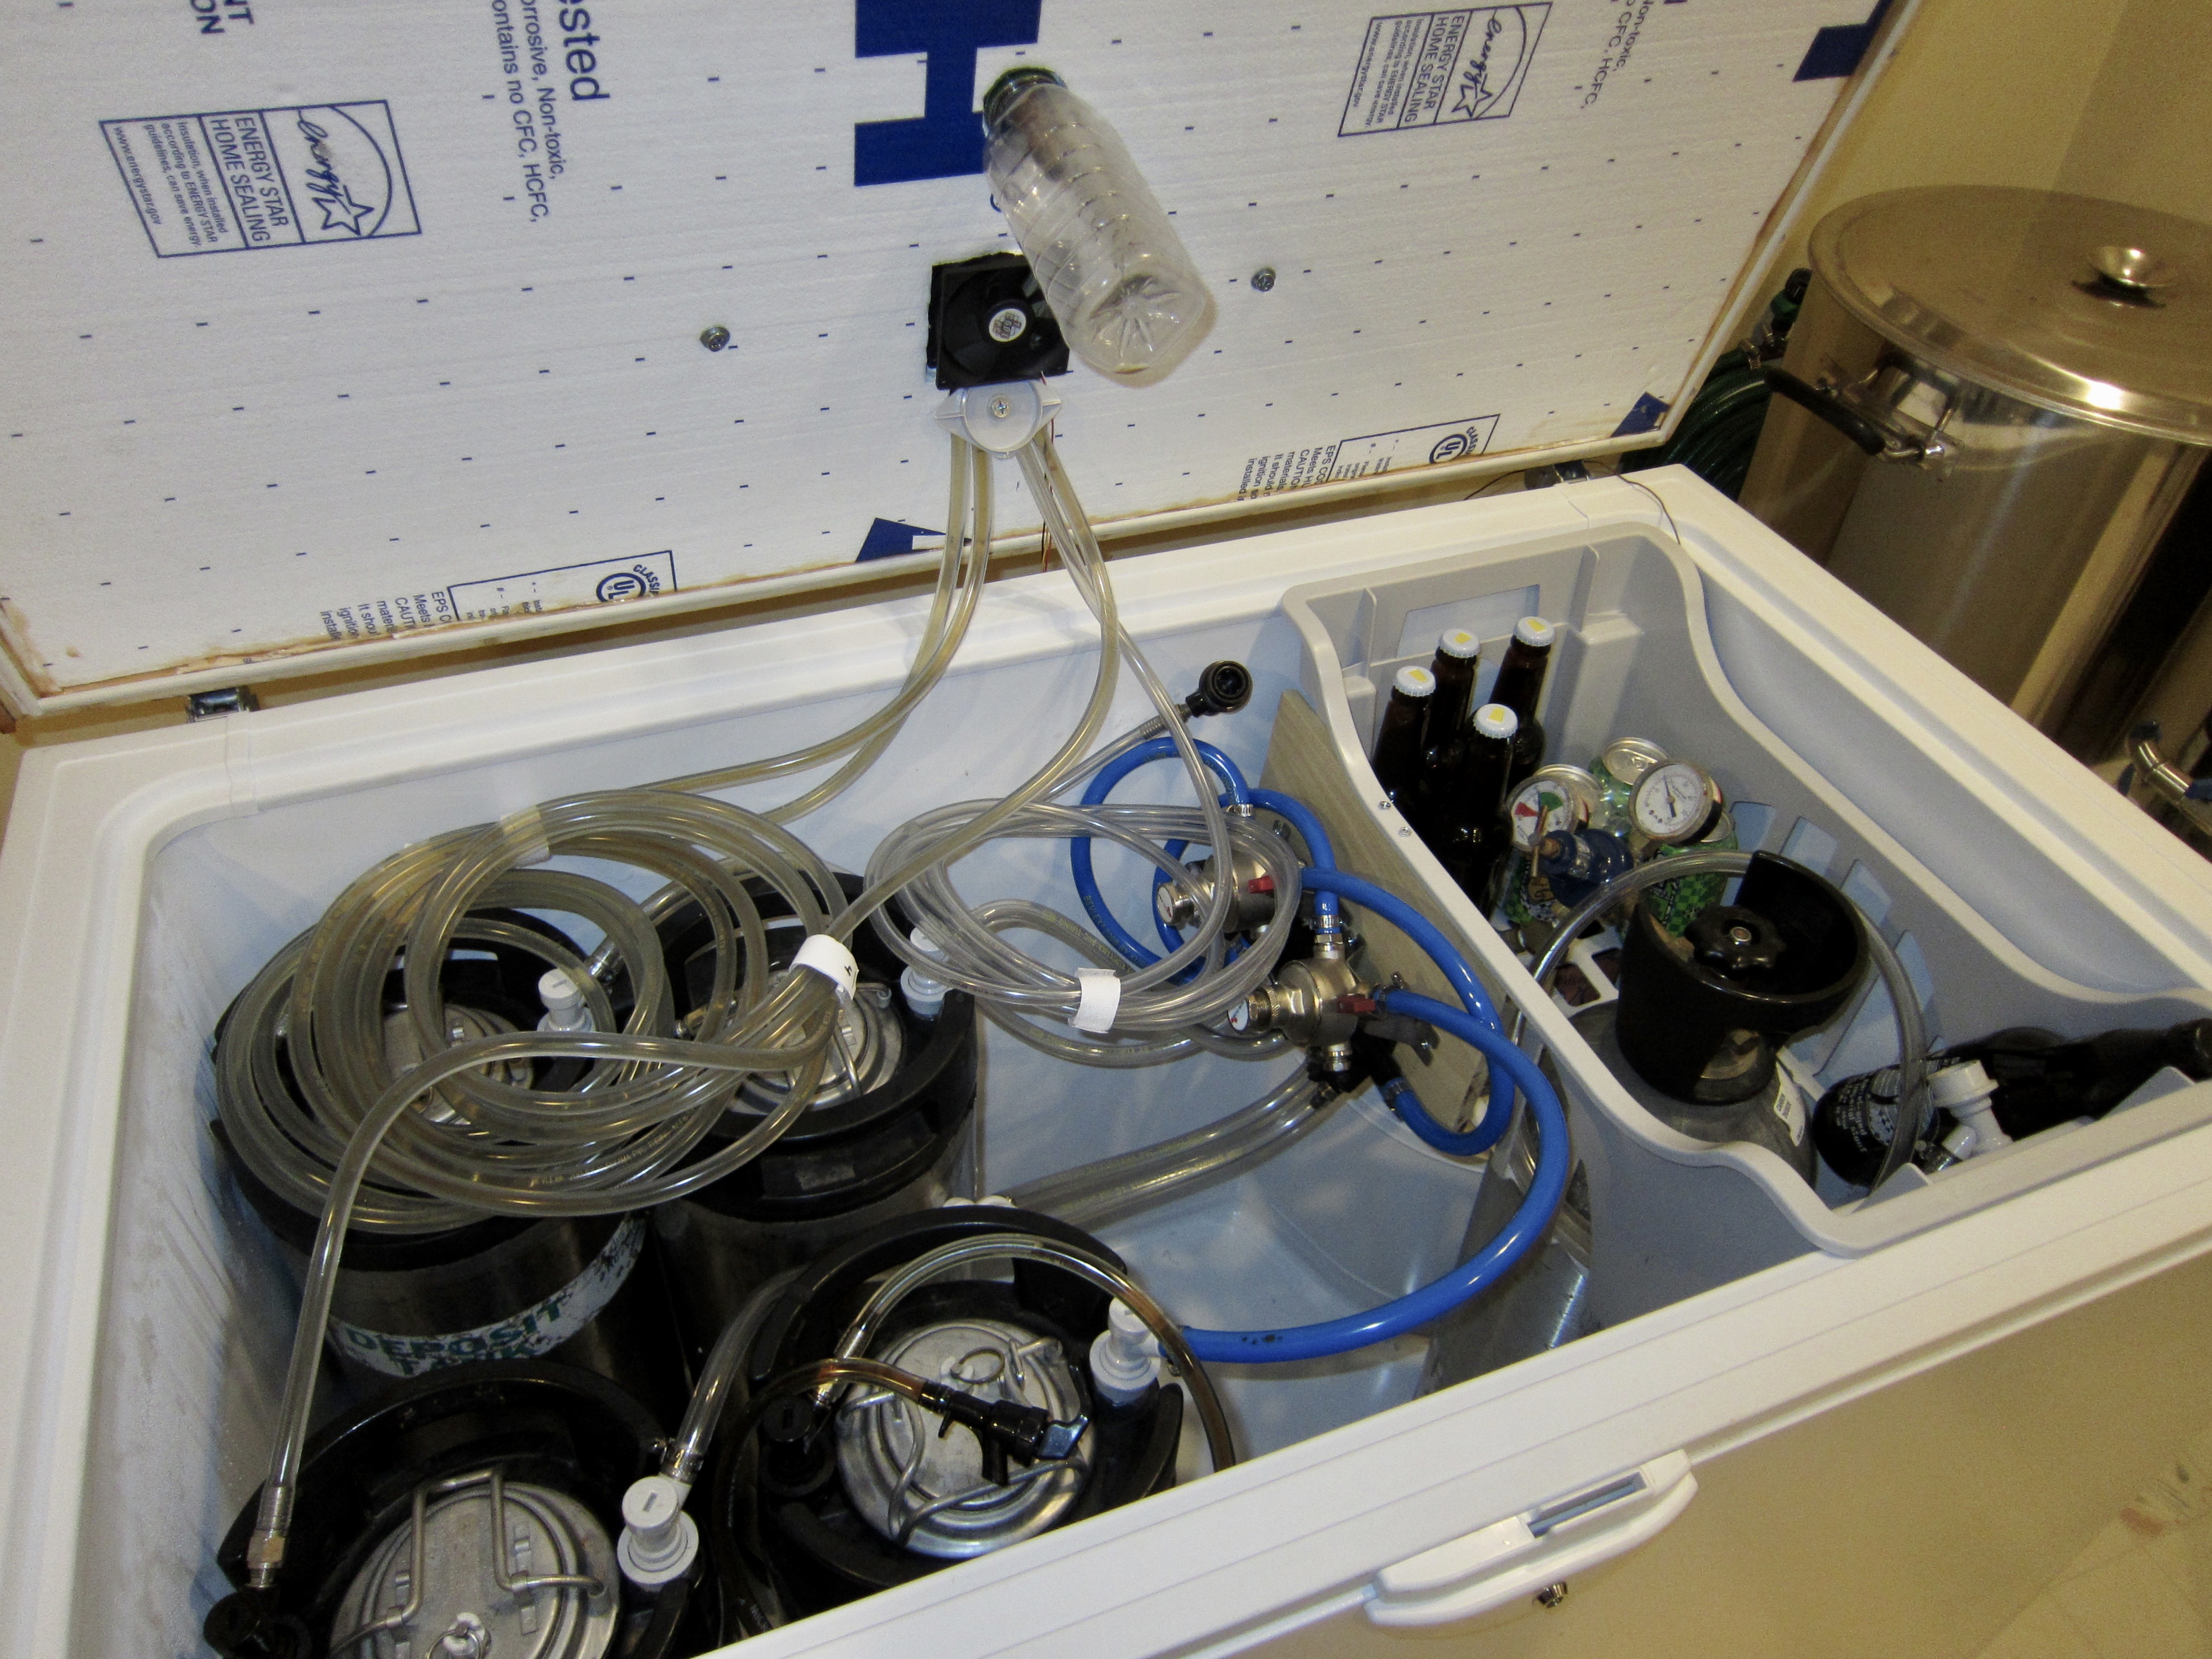
The finished internals, including a bottle for the drip tray drain and a PC fan for extra tower cooling — not that we need it much in the mountains. Other than cutting up one of the baskets to mount the CO2 hardware, there are no modifications to the freezer at all, so I should be able to return it under warranty if needed.
In the background you can see my newest toy, a 19 gal kettle. More on that later.

Leave a Reply